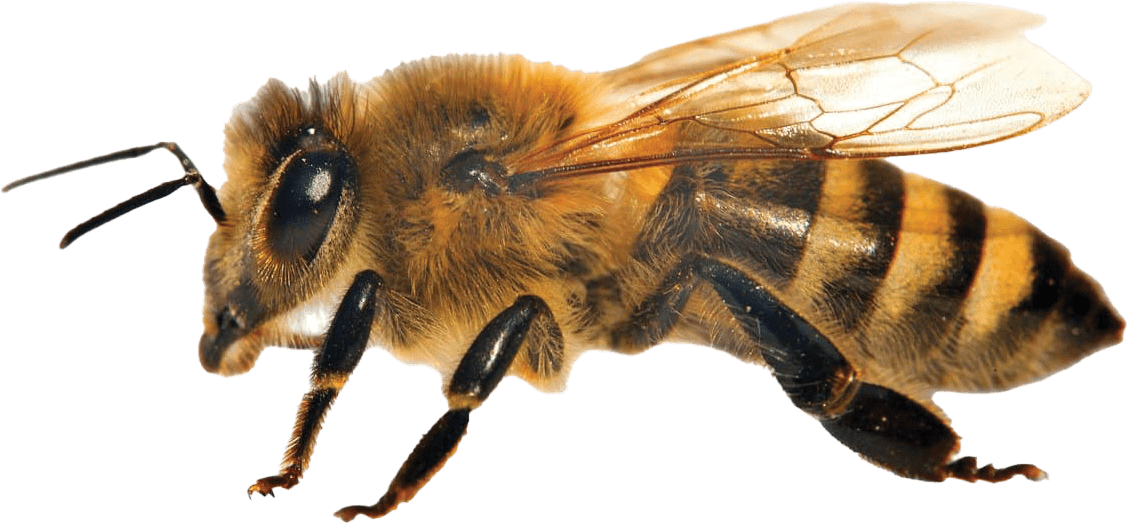
 Bees are an essential part of Florida’s ecosystem. They help pollinate the variety of plant life found here from the abundance of local wildflowers to the sprawling orange groves throughout the state. Despite our dependence on the bees, there has been an alarming drop in the bee population in recent years. The cause of bee population decline is multifaceted with researchers citing multiple causes, including agricultural pesticides, parasites, disease, and habitat destruction. The phenomenon of bee population decline has fortunately sparked an interest in at-home beekeeping. Also called apiculture (coming from the Latin word for bee, apis), beekeeping is the practice of maintaining bee colonies. Not only does beekeeping help increase and stabilize bee population numbers, but it is also a way for people to access high-quality honey and beeswax right in their back yards. Bees are a fascinating species, and having your own hives is a great way to study their behavior and gain a better understanding of how they function. Here are some helpful tips to introduce you to the practice.
 Before you start a bee colony, it is worth understanding what a beekeeper does. Beekeeping has been around for thousands of years, and many of the practices used today have been implemented for close to two hundred years. While not as involved as raising cows or pigs, bees are classified as livestock by the USDA, making beekeeping a form of farming. Beekeepers are responsible for maintaining the health of a colony, treating the colony for mites and other parasites, providing food when the hive struggles to obtain it on its own, harvesting the hive’s honey, and ensuring that the colony has a functioning queen. In many ways, a beekeeper acts as a failsafe for when a bee colony runs into trouble it cannot solve on its own. A great way to become more knowledgeable about beekeeping is to join a local apiculture club. Experienced beekeepers will be able to share general knowledge about the hobby along with unique information about keeping bees in our local environment.
 In Florida, all beekeepers must register with the Florida Department of Agriculture and Consumer Services. The application, which can be found on the FDACS website, is short and easy to fill out. It is recommended to fill this application out no more than twelve months before you establish your bee colony. There is a fee to register a colony with the state, but it is quite reasonable for the hobbyist to only keep a few hives. Beekeepers must also allow for regular apiary inspections by an FDACS representative. These inspections are done to ensure your colonies are healthy and not a threat to other bee populations. An inspection must be completed when your hives are first set up and at regular intervals after that. The exact time in between inspections varies depending on the local environment and the health of your bee colony.
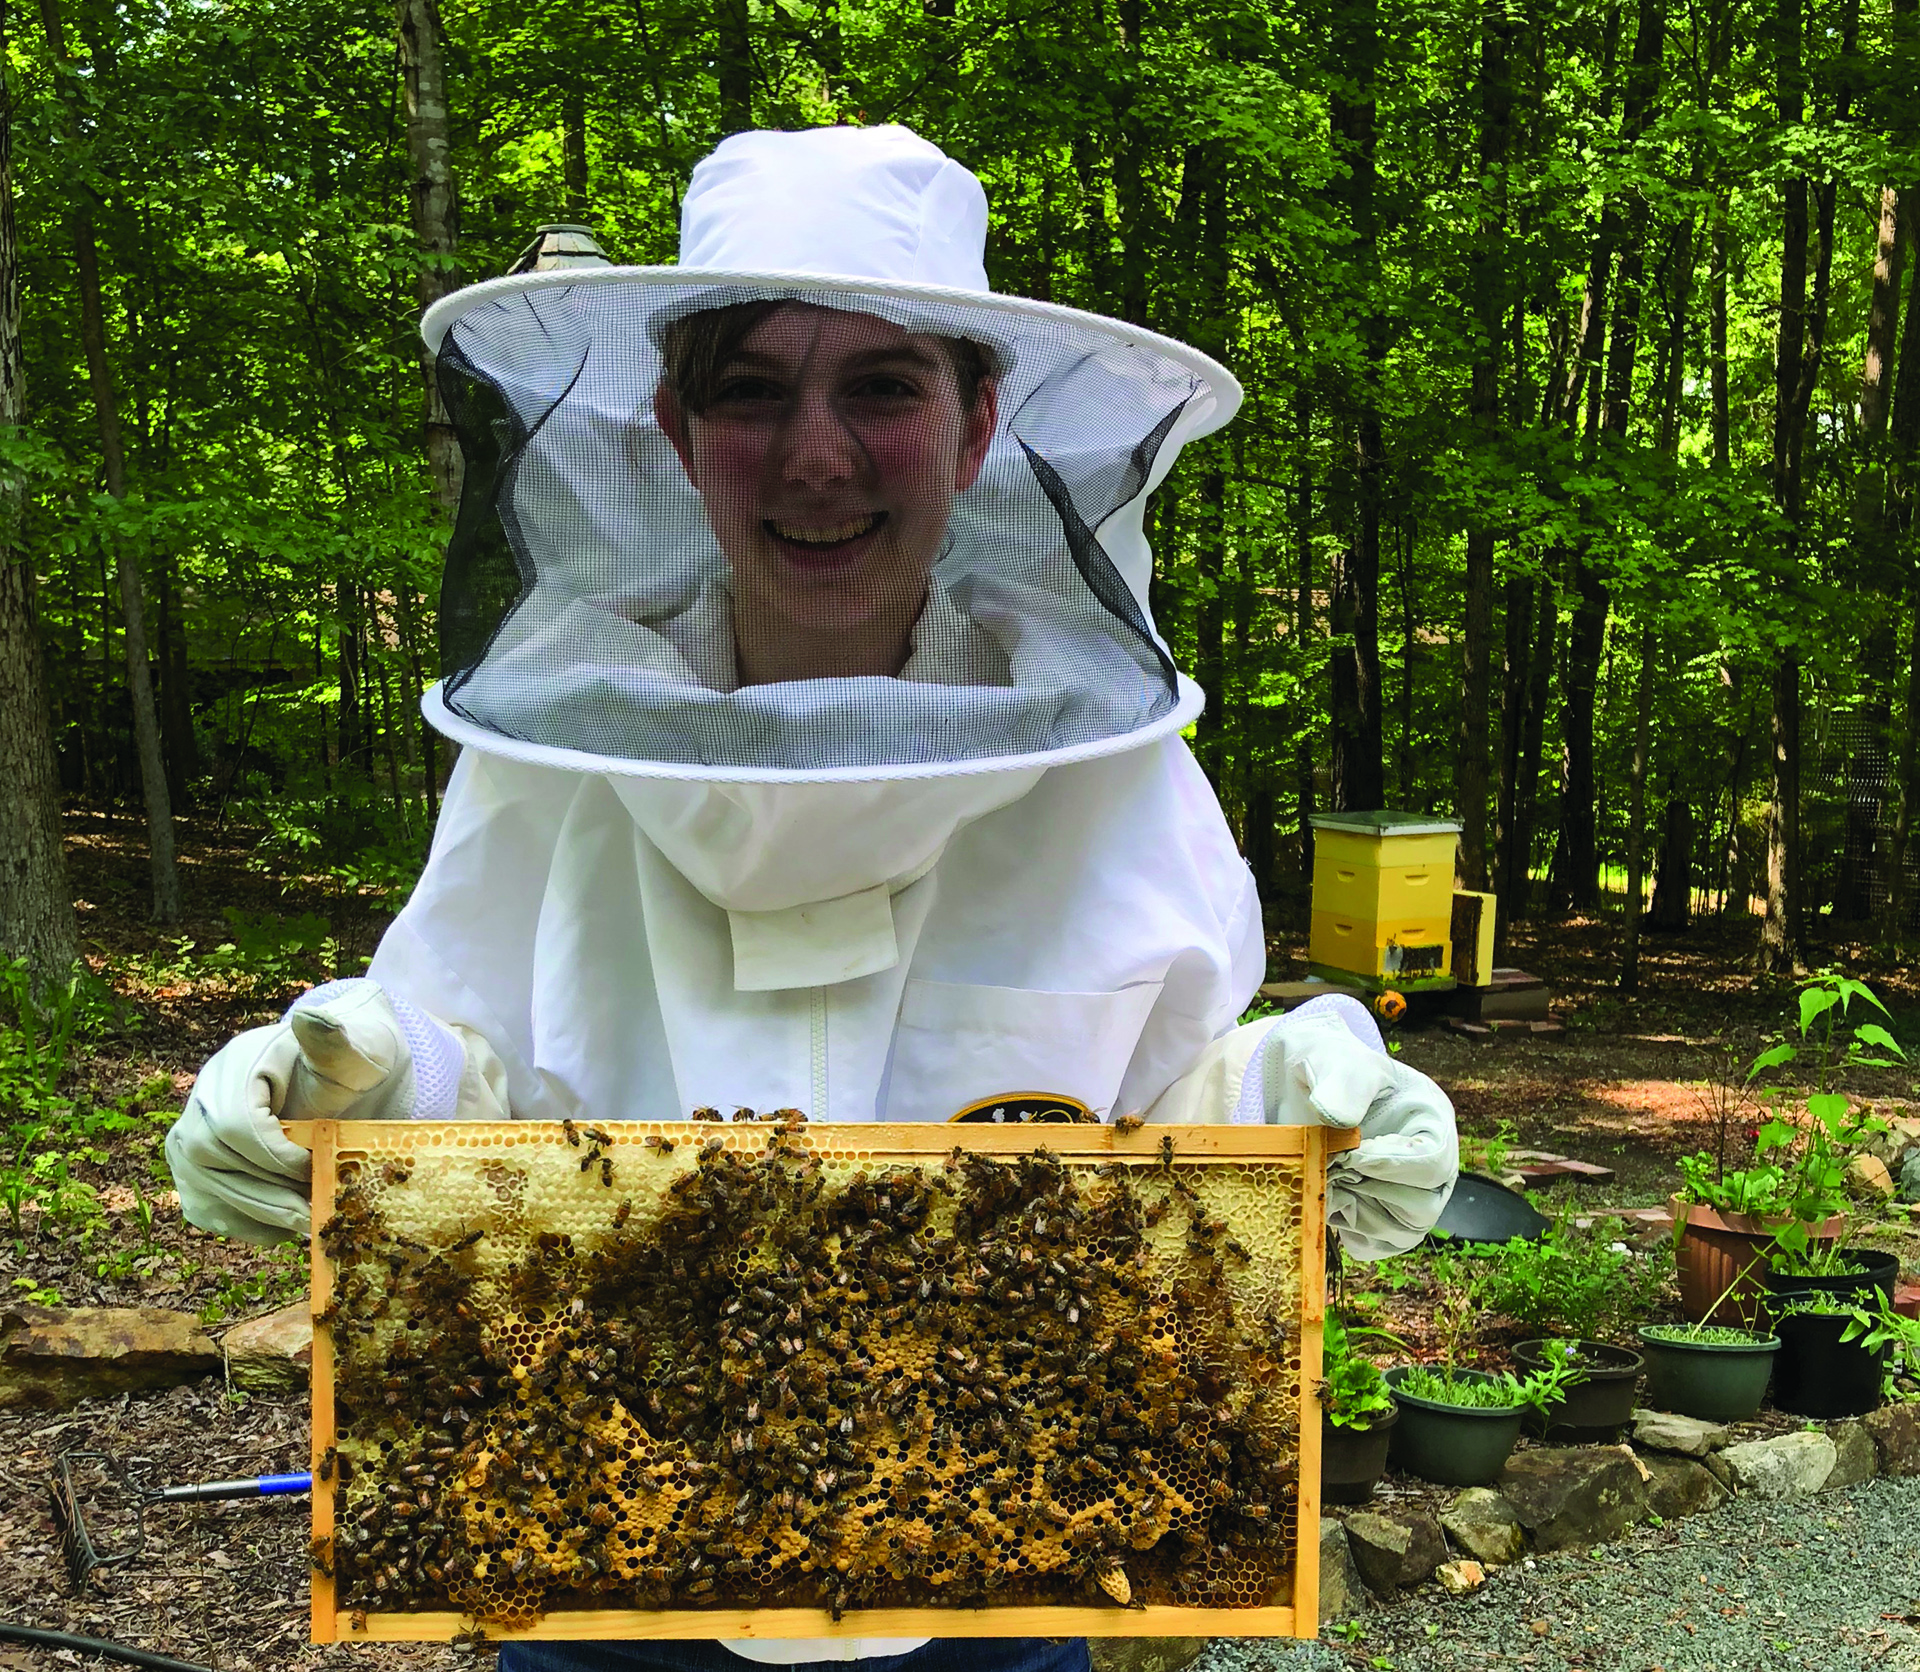
 To have a successful colony, beekeepers need to have the right equipment. For starters, you will need to acquire an artificial hive for your bees to live in. The most prominent type of artificial hive is the Langstroth hive. Developed by pioneer apiarist L. L. Langstroth in the 1800s, the Langstroth hive is essentially a box, called a super, containing frames that bees use to develop their hives and produce honey. Below the super is an area often called the brood box where the queen lives and lays her eggs. This area also has an opening so the bees can come and go as they please. The ingenuity in the design is that each frame can be removed from the box, allowing beekeepers to interact with the hive without alarming the bees. There are other hive designs used by apiarists, but the Langstroth hive is considered one of the best and easiest to use. There are Langstroth hive designs available if you wish to build your own; however, it may be wise to purchase one already built when you are first getting into beekeeping. Hives are widely available online, and their price can range from around $80-$400 depending on the size and materials used.
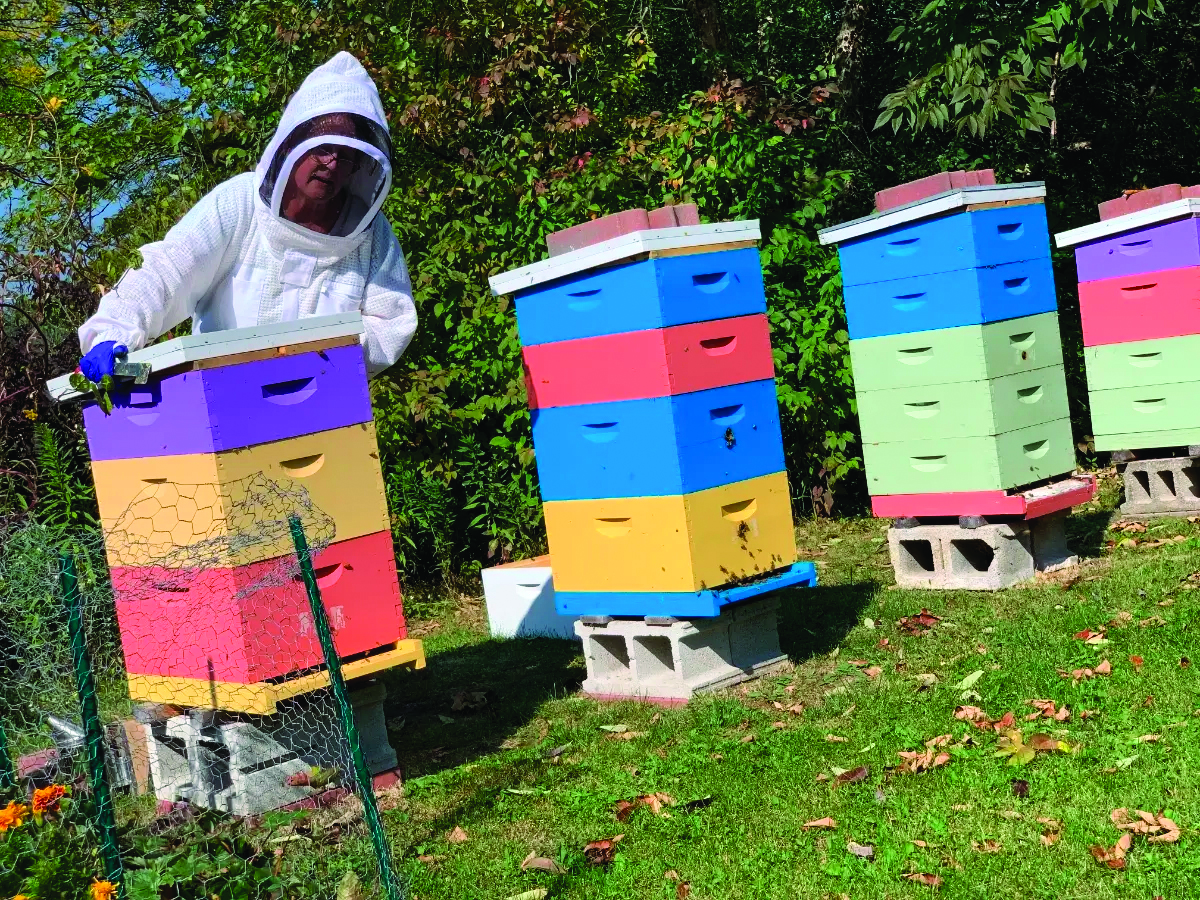
 In addition to a hive, it is highly recommended to acquire protective gear to wear when interacting with your hives. Beekeeping suits are pretty recognizable even if you are not well versed in beekeeping. The suits are a lot like coveralls with the addition of a veiled hat or hood and gloves. The veil on the suit is made of a material similar to mosquito nets, which helps keep you protected from potential stings and also aids in keeping the suit cool. While suits often come with gloves, there are other options available. Thick leather gloves are great at ensuring that your hands will be sting-free, but their thickness can make working with the hives cumbersome. An interesting workaround for that problem is using nitrile gloves. Composed of synthetic rubber, nitrile gloves are thinner than leather, which makes them much easier to use while working. They do not offer as much protection per se, but bees are not likely to sting your hands while wearing the gloves, as the bees do not associate the rubbery surface with something they can sting when defending themselves. Of course, if the bees feel overly threatened, they may still sting your hands through the nitrile gloves, but the gloves can prevent the stinger from getting stuck in your hand. None of this protective equipment will make you invincible, but as long as you are handling your bees gently, you will be far less likely to obtain any serious stings.

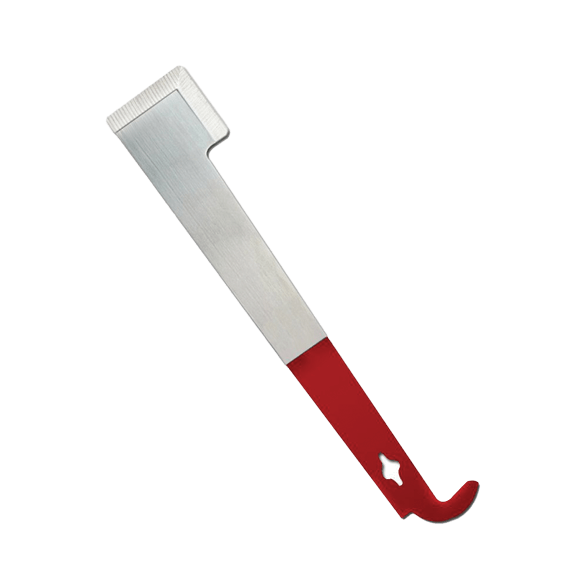
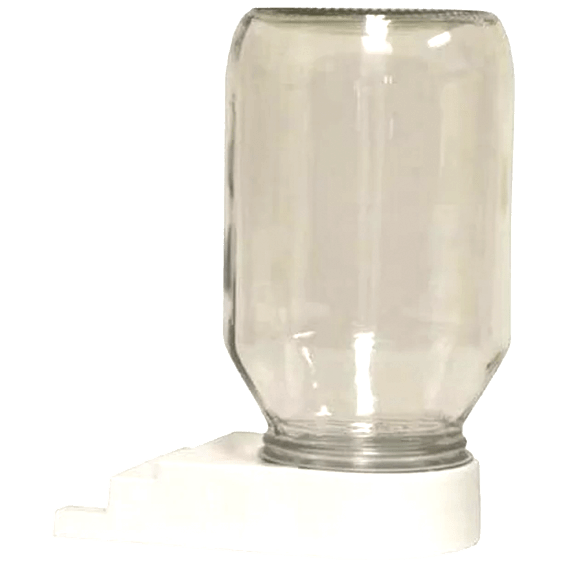
Along with protective gear, there are a few tools you must purchase to effectively keep bees. A smoker is a device employed by many beekeepers to keep the bees calm when you are interacting with the hive. Smokers are usually made of stainless steel and are full of fuel that produces smoke at a low temperature. They have a handle to pull down to aerate the container and burn the fuel, in turn, creating smoke that is blown out of the top of the smoker through a spout. One of the most used tools by beekeepers is aptly named a hive tool. Hive tools are simple yet incredibly useful pieces of equipment that are like lightweight crowbars. The main purpose of these tools is to separate the frames in your hives. Bees produce a glue-like substance called propolis and will use this glue to seal the frames in your hive together. By using a hive tool, you can easily break these seals without harming your bees or hive. A bee feeder is also needed when setting up a brand-new hive. Bees will consume their honey as a source of energy in an established hive, but a brand new hive will not have honeycomb readily available. The bee feeder is used in place of honey when you are setting up a new hive or when your hive’s honey supply is running low during the fall or winter. A bee feeder is a container that sits near your hive and can hold a sugar-water mixture with some form of an opening for the bees to access the food. Bee feeders can be purchased, but they are also simple to make yourself. All you need is a large jar with a lid. Fill the jar with a mixture of one part sugar to one part water and screw the lid on. Poke tiny holes into the jar’s lid and place the jar, lid side down, on a tray or plate. The tiny holes will let water out slowly, giving the bees access to the food. Once assembled, place your feeder near your hive so your bees can eat from it.
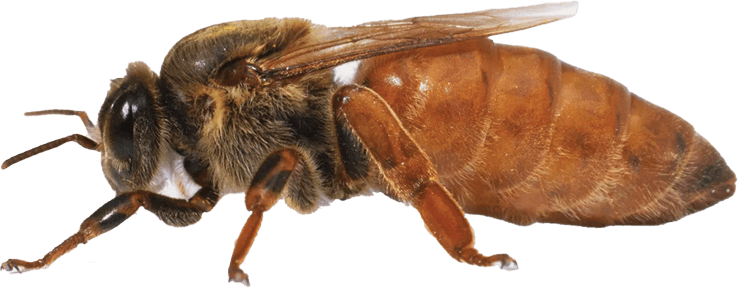 Once you have your equipment and have followed any regulations set forth by the local and state government, it is time to acquire your bees. There are numerous ways to obtain bees for your colony. As mentioned earlier, your local beekeeping society can be a great resource, especially when you are looking to obtain bees. Buying bees from a local source is an excellent choice, as you will be buying bees that are suitable for your area and will also reduce the stress the bees experience while being transported. If buying locally is not an option, numerous online retailers offer bees and queens for sale. If you do choose to purchase bees online, make sure you are buying from a reputable service, which explicitly states what kind of bees you are purchasing. It is best to avoid purchasing Africanized bees, which are far more aggressive than other types of honeybees and can be dangerous to deal with. You should look for sellers advertising calmer breeds of honeybees like the Italian Honeybee, Mason Bee, or the Carniolan Honeybee. Most bee boxes will come with a queen, but sometimes it is necessary to purchase the queen separately. The queen bee runs the colony and ensures that new bees are being created. The spring is the best time to establish a new bee colony, but, if you are having bees shipped to you, it is best to order your bees well before you want to set up your hive. Bee suppliers sell out quickly and can take a while to ship, so it is best to purchase your bees between September and November if you want to start a colony in early spring.
Now it is time for the fun to start—setting up your hive. First, lightly spray the box containing your bees with sugar water. This will help calm the bees and provide them with food. There should be a wooden lid on the top of your bee box. Remove the lid, but do not discard it. Underneath the wooden lid will be the bottom of the metal can. That can contains sugar water for your bees to eat while being shipped to you. The can is what seals the bee box closed; the wooden lid is only there to keep the can in place while the bees are in transit. Firmly tap the bee box on the ground a few times to get your bees away from the feeder can, remove the can, take the queen box (typically a small wooden box with a mesh covering on one side and corks on both ends) out of your bee box, and place the wooden lid back on the box to prevent bees from escaping. Next, remove between three and four frames from your hive, exposing the brood box at the bottom. At this point, you will want to install your queen bee. You want to remove the cork on the end containing a soft marshmallow-type candy (this end of the box will usually look white). Once the cork is removed, your bees will eat away at the candy over a couple of days, giving them time to accept the queen as their own. If you were to release the queen right away, there is a fair chance that the bees would perceive the queen as a threat and kill her. To install the queen, take a piece of fabric (often queen boxes will have this fabric already attached to the box) and staple it to the non-candy side of the box. Then, staple the cloth to the top of one of your frames, making sure that the mesh side of your queen box is facing away from the frame. Once the queen is in the hive, take the wooden lid off of your bee box, face the opening towards your hive, and gently shake the bees into the hive. Not all the bees will come out of the box, so just place the bee box near the opening of your hive, and the remaining bees will make their way into the hive in due time. Gently place the frames you removed back into the hive, and put the lid of the hive on top of the frames. Set up your bee feeder nearby and leave the hive alone for three to five days. Then, open up your lid, and remove the now empty queen box from the hive. With that, you have a bee colony. It will usually take a beehive around four to six months to start producing enough honey to harvest. However, it is recommended that you give your colony around a year to become fully established before you harvest any of its honey.
Apiculture is an expansive field. It takes time to learn all the ins and outs of it, and the best thing you can do as a new beekeeper is to keep learning more and know that you are not alone. There is a huge community of beekeepers across the world who would love to share their knowledge on the subject with you—in person and online! This introduction to beekeeping is by no means a complete guide, but, hopefully, it can serve as a starting point for the fun and rewarding hobby of beekeeping. ![]()
Andy Baker
Home & Yard Magazine