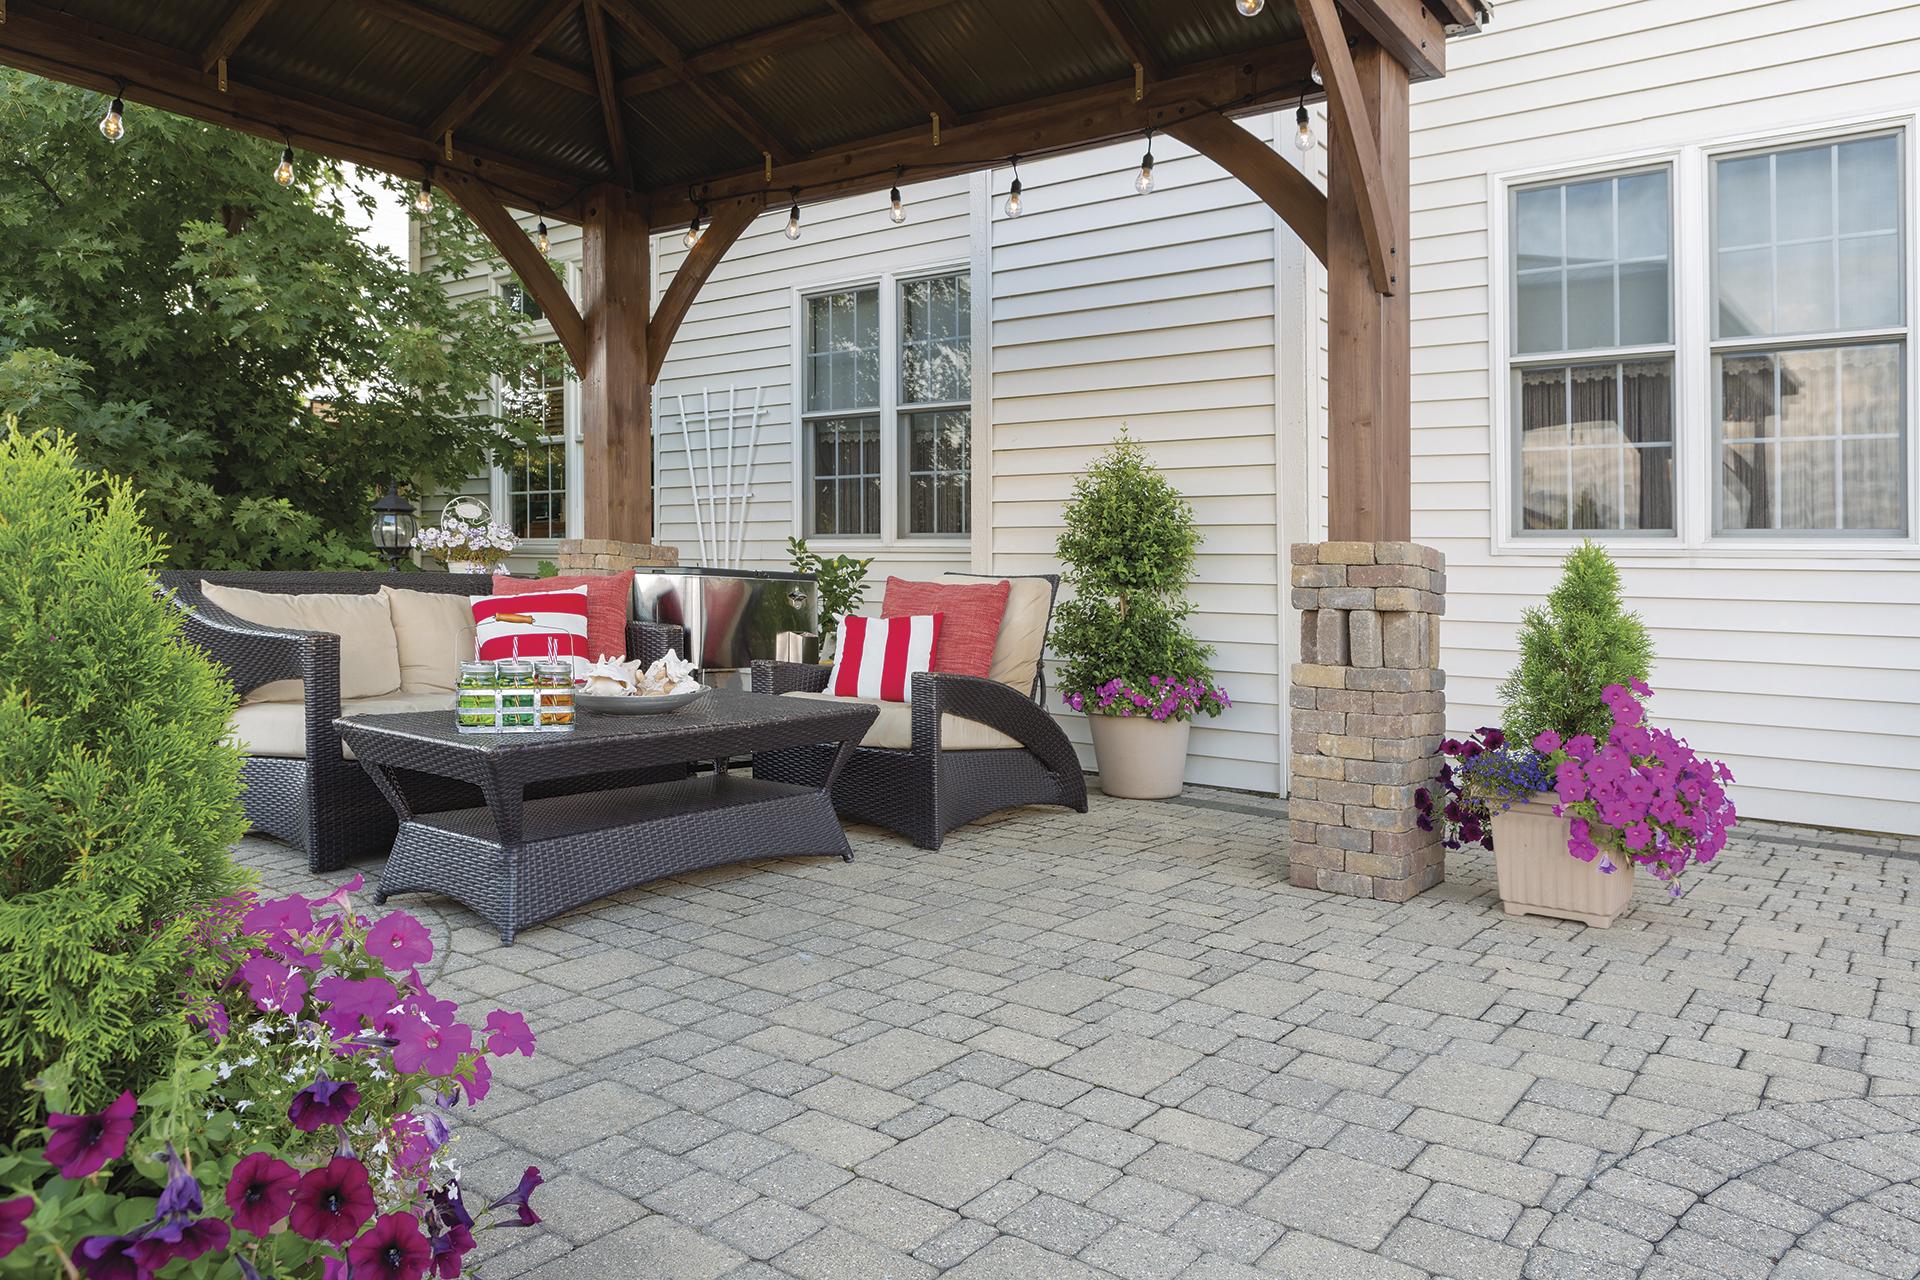
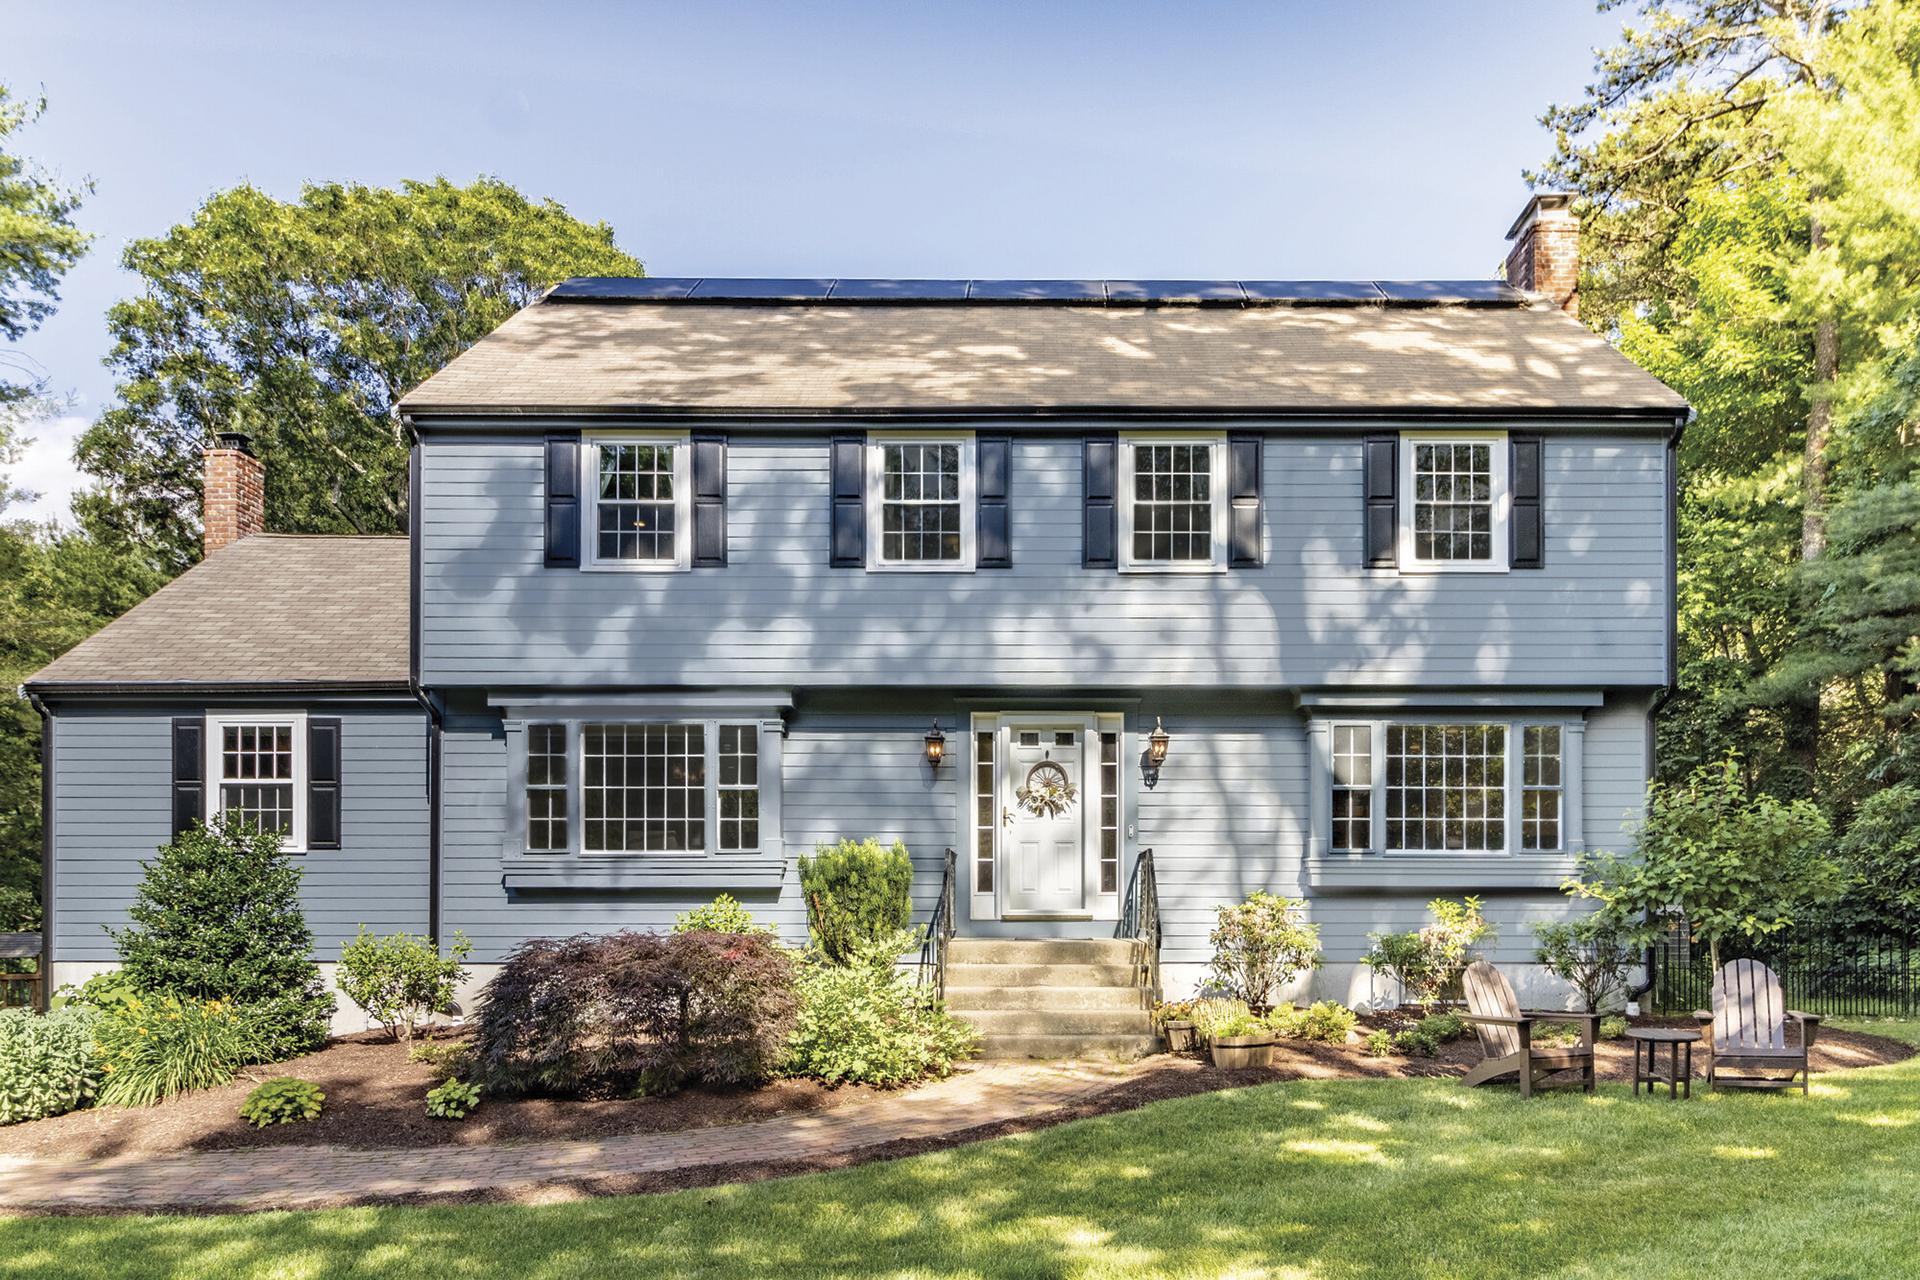
Your home’s siding is more than just an aesthetic feature—it’s a protective shield against the elements, insulation for energy efficiency, and a key factor in your property’s curb appeal. Over time, however, siding can wear out, crack, fade, or simply fall out of style. Whether you’re dealing with damaged panels, outdated materials, or just want a fresh look, repairing or replacing your siding is a big decision. In this guide, we’ll walk you through the options—Hardie board (fiber cement) siding, vinyl siding, and brick—exploring how to fix or redo your home’s exterior. While some steps can be tackled as a DIY project, we’ll also explain why calling a professional is often the smartest move.
Assessing the State of Your Siding
Before diving into repair or replacement, take a close look at your current siding. Walk around your home and check for:
- Cracks or splits: Common in wood or vinyl siding after years of weathering
- Fading or peeling paint: A sign that your siding’s protective layer is failing
- Water damage or rot: Especially prevalent in wood or poorly maintained materials
- Loose or missing panels: Wind and storms can wreak havoc over time
If the damage is minor—like a few cracked vinyl pieces or chipped paint—you might get away with spot repairs, but if you’re seeing widespread issues or dreaming of a total transformation (say, swapping old siding for brick), it’s time to consider a full redo. Let’s explore your options.
Option 1: Hardie Board (Fiber Cement) Siding
 Hardie board, made from a mix of cement, sand, and cellulose fibers, has surged in popularity for its durability and versatility. It mimics the look of wood without the maintenance headaches, resists pests like termites, and stands up to harsh weather.
Repairing Hardie Board
If your existing Hardie board siding has minor damage:
- Clean the area: Use a pressure washer (low setting) or a scrub brush with soapy water to remove dirt and debris.
- Replace damaged planks: Cut out the broken section with a circular saw, and then nail in a new piece cut to size. Seal the edges with caulk.
- Repaint: Use exterior-grade paint designed for fiber cement to refresh the look.
DIYers with basic tools can handle small fixes, but precision is key—misaligned cuts or poor sealing can let water seep in, undoing your efforts.
Redoing with Hardie Board
For a full replacement:
- Remove old siding: Carefully pry off the existing material, checking the underlying house wrap for damage.
- Install new Hardie board: Start at the bottom, overlapping each plank as you go up. Use corrosion-resistant nails and follow manufacturer spacing guidelines.
- Finish it: Caulk seams and paint or choose pre-finished boards.
This is where pros shine. Hardie board is heavy, and improper installation can lead to warping or cracking. A contractor ensures it’s hung plumb and level with proper flashing around windows and doors to prevent leaks.
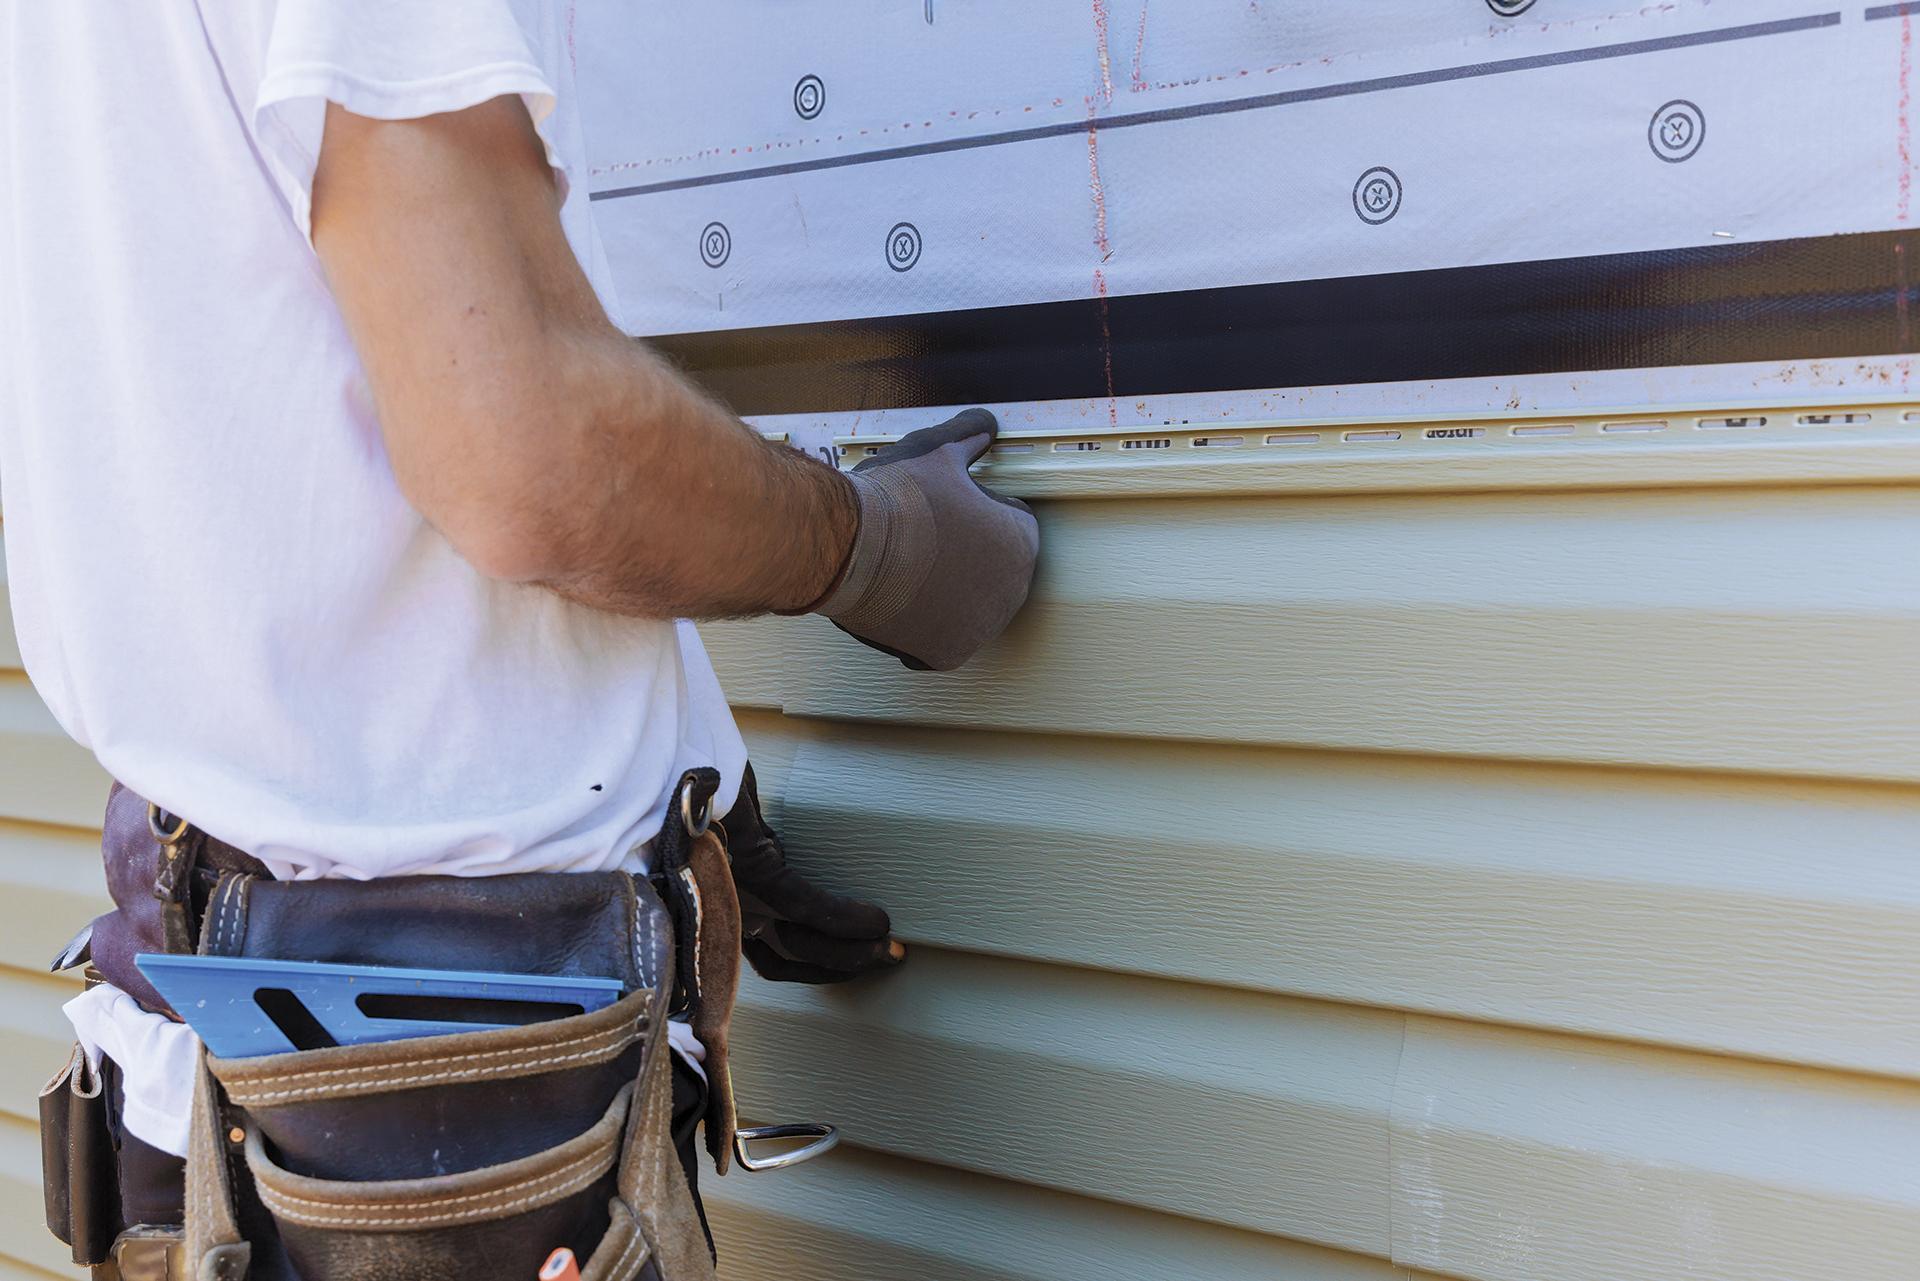
Option 2: Vinyl Siding
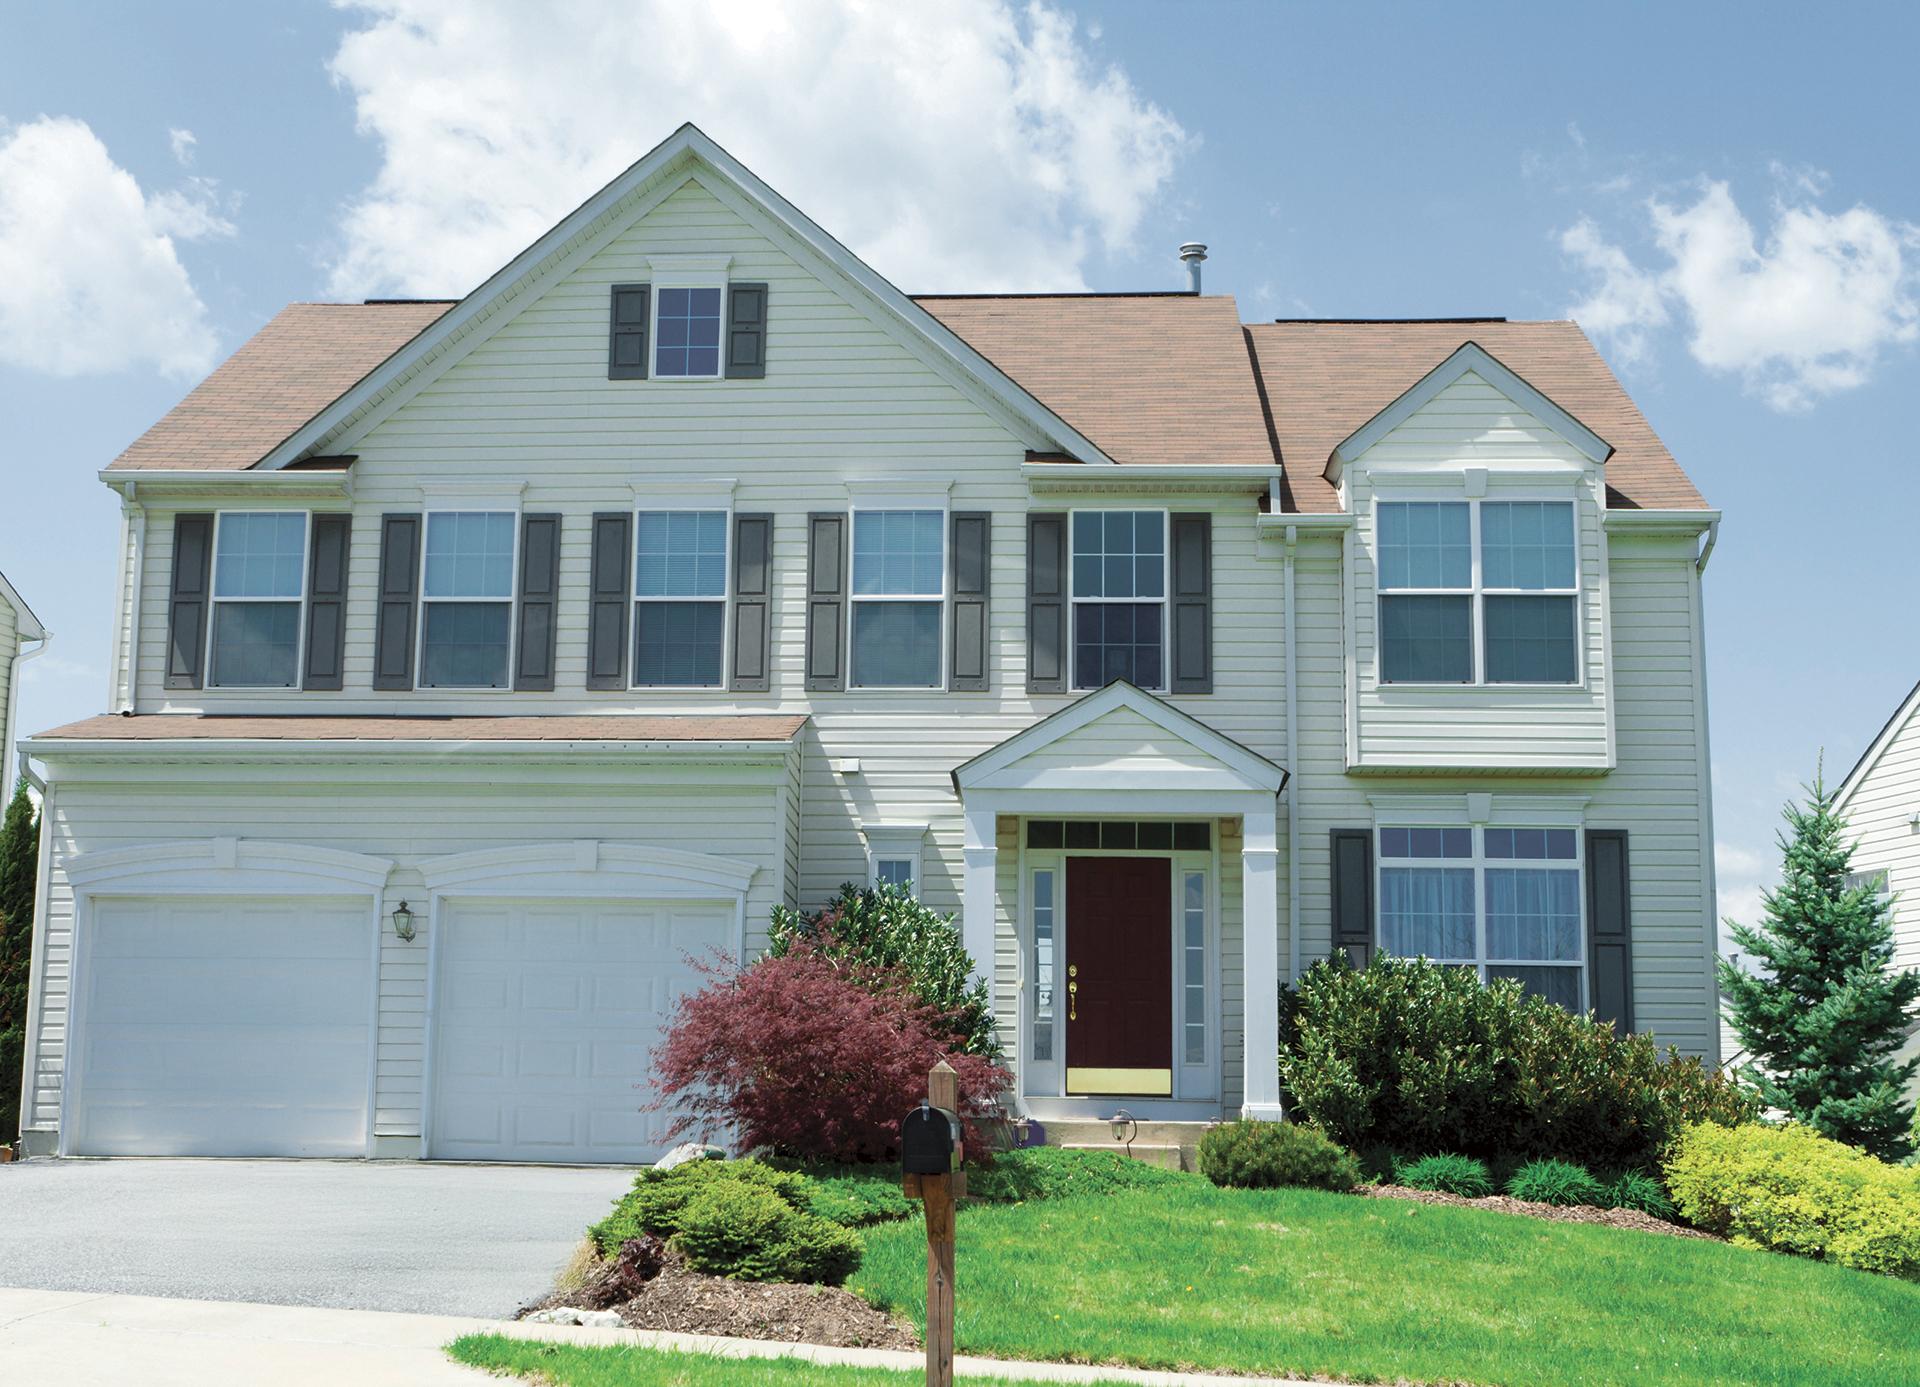
Vinyl siding is the budget-friendly darling of homeowners. It’s lightweight, comes in countless colors, and requires minimal upkeep, but it’s not invincible—UV rays can fade it, and extreme cold can make it brittle.
Repairing Vinyl Siding
Got a hole or a missing panel? Here’s a quick fix:
- Clean the damage: Wash off grime with a hose or mild detergent.
- Patch small holes: Apply vinyl caulk or use a patch kit (available at hardware stores).
- Replace a panel: Unlock the damaged piece from its interlocking edges with a zip tool, slide in a new one, and snap it back into place.
This is DIY-friendly for handy folks, but matching colors can be tricky if your siding’s been discontinued.
Redoing with Vinyl
For a full overhaul:
- Strip the old stuff: Pull off the existing siding, inspecting the underlayment for rot or mold.
- Install new vinyl: Work from the bottom up, interlocking each panel and leaving a small gap for thermal expansion.
- Trim it out: Add J-channels around windows and corners for a polished look.
Vinyl’s lightweight nature makes it tempting for DIYers, but pros bring speed and expertise. They’ll spot potential issues—like insufficient insulation or vapor barriers—that could haunt you later.
Option 3: Brick (Converting Old Siding to Brick)
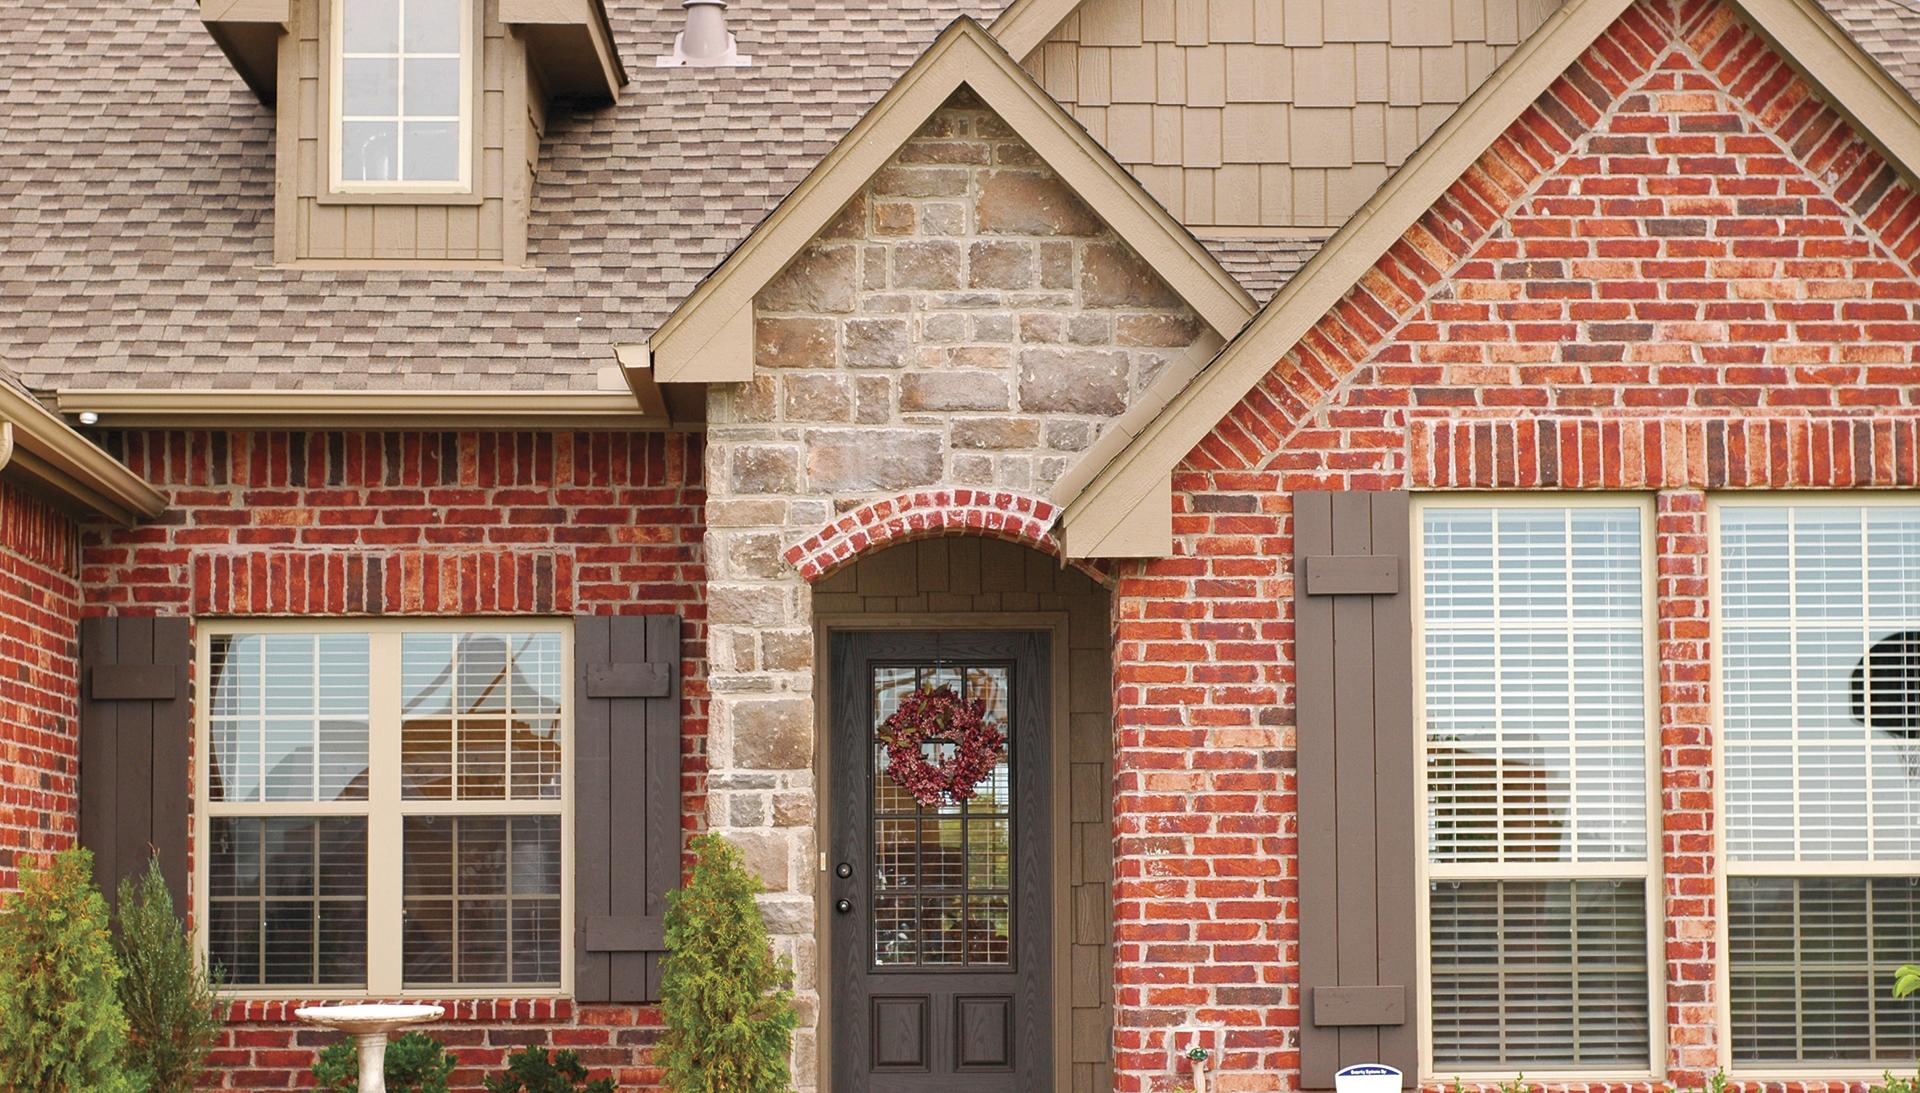
Brick siding screams timeless elegance and unmatched durability. It’s fire-resistant, low-maintenance, and can boost your home’s value. Converting from another siding to brick without tearing down your house? It’s possible with brick veneer—a thinner, lighter alternative to full brick walls.
Repairing Brick
If you already have brick and it’s crumbling:
- Repoint mortar: Chip out loose mortar with a chisel, and then apply fresh mortar with a trowel.
- Replace damaged bricks: Carefully remove broken ones and set new bricks in place with mortar.
This is delicate work—amateurs risk uneven joints or water infiltration.
Converting to Brick Veneer
Here’s how it happens:
- Prep the walls: Pros assess your home’s structure to ensure it can support the added weight. They’ll remove old siding and install a moisture barrier.
- Add a ledger: A metal or wood base supports the brick veneer at the bottom.
- Lay the veneer: Thin bricks or brick tiles are mortared onto the wall, tied back to the structure with metal anchors.
- Finish with mortar: Joints are filled for a seamless look.
This is not a DIY job. The weight, structural considerations, and masonry skills required mean you’ll want a licensed contractor. They’ll also handle permits—many municipalities require them for brick conversions.
DIY vs. Professional: Why Call the Experts?
Sure, you can tackle small repairs with a trip to Home Depot and a YouTube tutorial. Replacing a vinyl panel or patching Hardie board isn’t rocket science, but for full replacements or ambitious upgrades like brick veneer, the stakes are higher. Here’s why pros are worth it:
- Expertise: They know building codes, weatherproofing tricks, and how to avoid costly mistakes.
- Efficiency: What takes you weeks could be done in days.
- Warranties: Many contractors offer guarantees on labor and materials.
- Safety: Scaffolding, heavy lifting, and power tools are safer in trained hands.
For example, installing Hardie board without proper spacing can trap moisture, leading to mold. Brick veneer done wrong could crack or even collapse if the foundation isn’t prepped. A professional’s eye catches these pitfalls before they become disasters.
Costs to Consider
- Hardie Board: $8–$14 per square foot installed. DIY materials: $3–$6 per square foot.
- Vinyl: $4–$9 per square foot installed. DIY materials: $1–$3 per square foot.
- Brick Veneer: $15–$30 per square foot installed (varies by region and complexity). DIY isn’t practical here.
Factor in tools, permits, and your time if you go DIY. Pros often bundle everything into their quote, saving you headaches.
Final Thoughts: Make the Call
Fixing or redoing your siding can breathe new life into your home, boost its value, and protect it for decades. Small repairs, like patching vinyl or repointing brick, are perfect for DIY enthusiasts with a bit of grit, but when it’s time to overhaul your exterior with Hardie board, vinyl, or a stunning brick veneer, don’t hesitate to call a professional. They’ll ensure the job’s done right, saving you time, money, and stress in the long run. Ready to transform your home? Pick up the phone. Your siding deserves the best. ![]()
Alan Lashbrook